|
|
|
|
|
![Network outline](Resources/item1a2b3d.gif) |
|
![Network outline](Resources/item1a2b4e.gif) |
![Network outline](Resources/item1a2b5a.gif) |
|
|
|
|
![Southern Electric map Laurence Coles](Resources/southernelectric3.jpeg) |
|
![Network South Central 1994 picclick](Resources/networksouthcent.jpeg) |
|
![Network South Central 1994 picclick](../Resources/sharnbrookole10.jpeg) |
|
![Network South Central 1994 picclick](Resources/southcentraltrai.jpeg) |
|
|
|
|
|
|
|
![Network outline](Resources/item1a2b1-40.gif) |
|
|
|
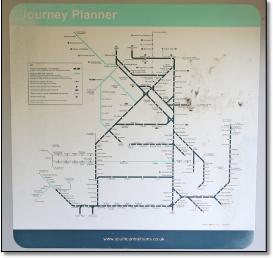
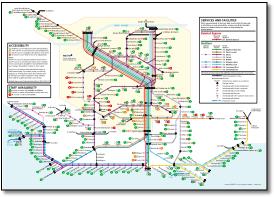
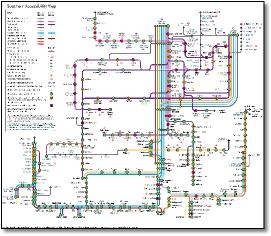
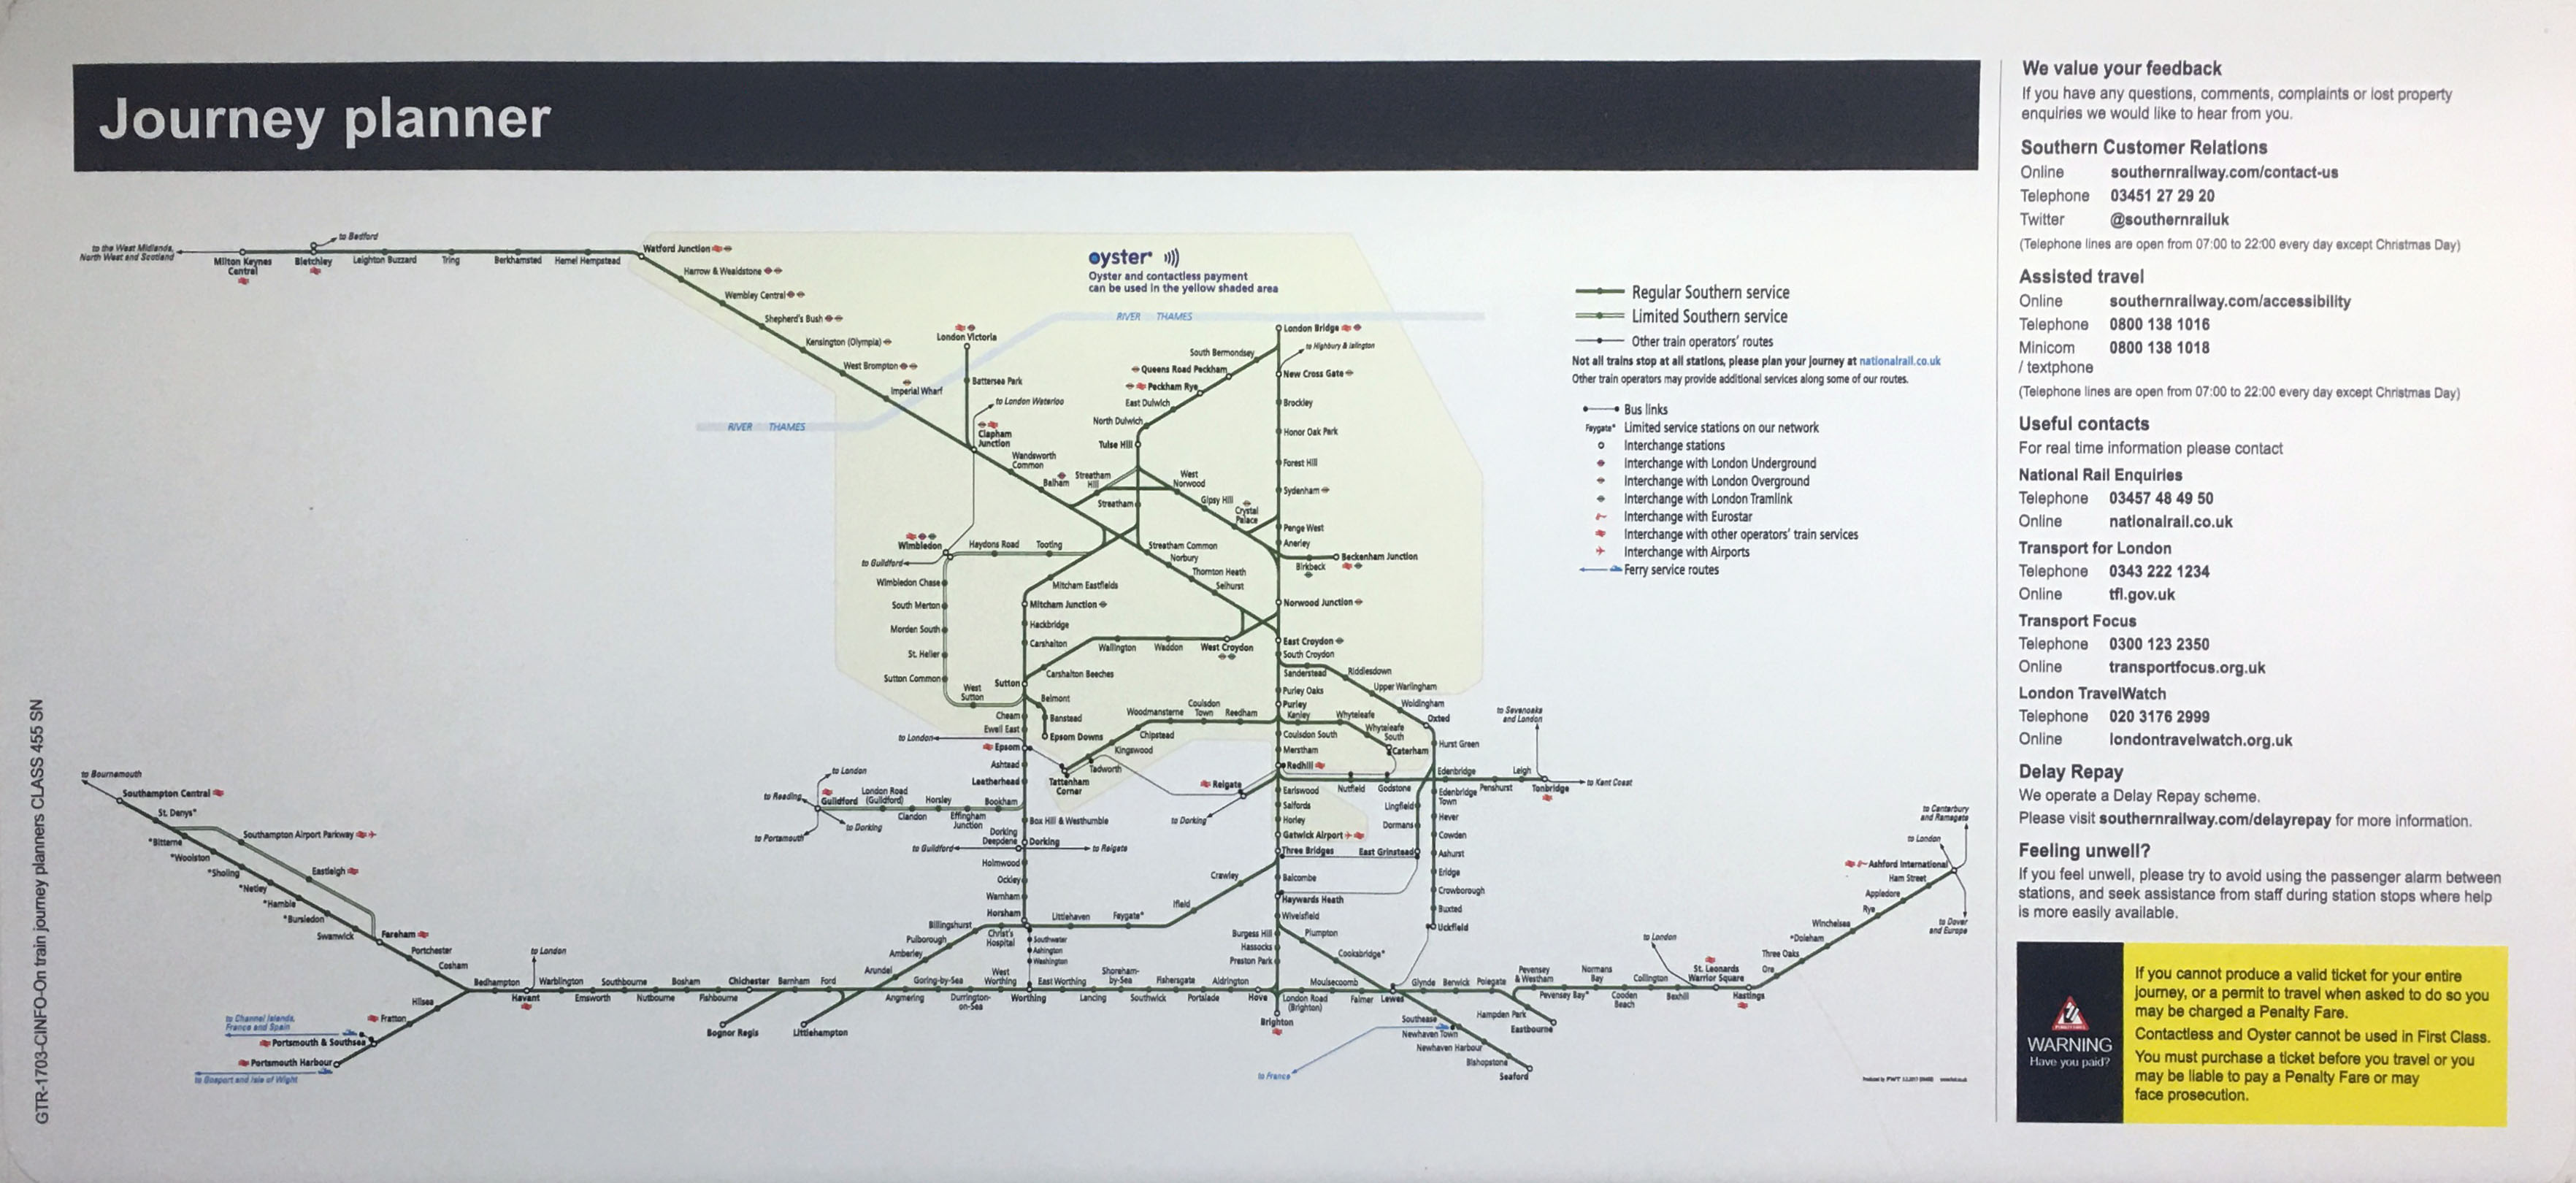
- Font is too small to read in a map above the doors. Its also oddly title a journey planner.
|
|
|
|
|
|
![Southern strip map](Resources/southernstripmap1.jpeg) |
|
|
|
|
|
![Network outline](Resources/item1a2b2-7.gif) |
|
|
|
|
|
![Southern rail train map Max Roberts](Resources/southernheritage1.jpeg) |
|
|
|
|
|
|
|
![Network outline](Resources/item1a1b2a15.gif) |
|
|
|
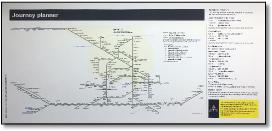
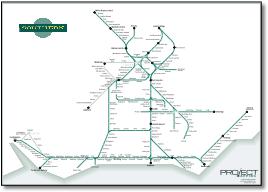
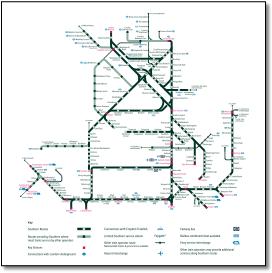
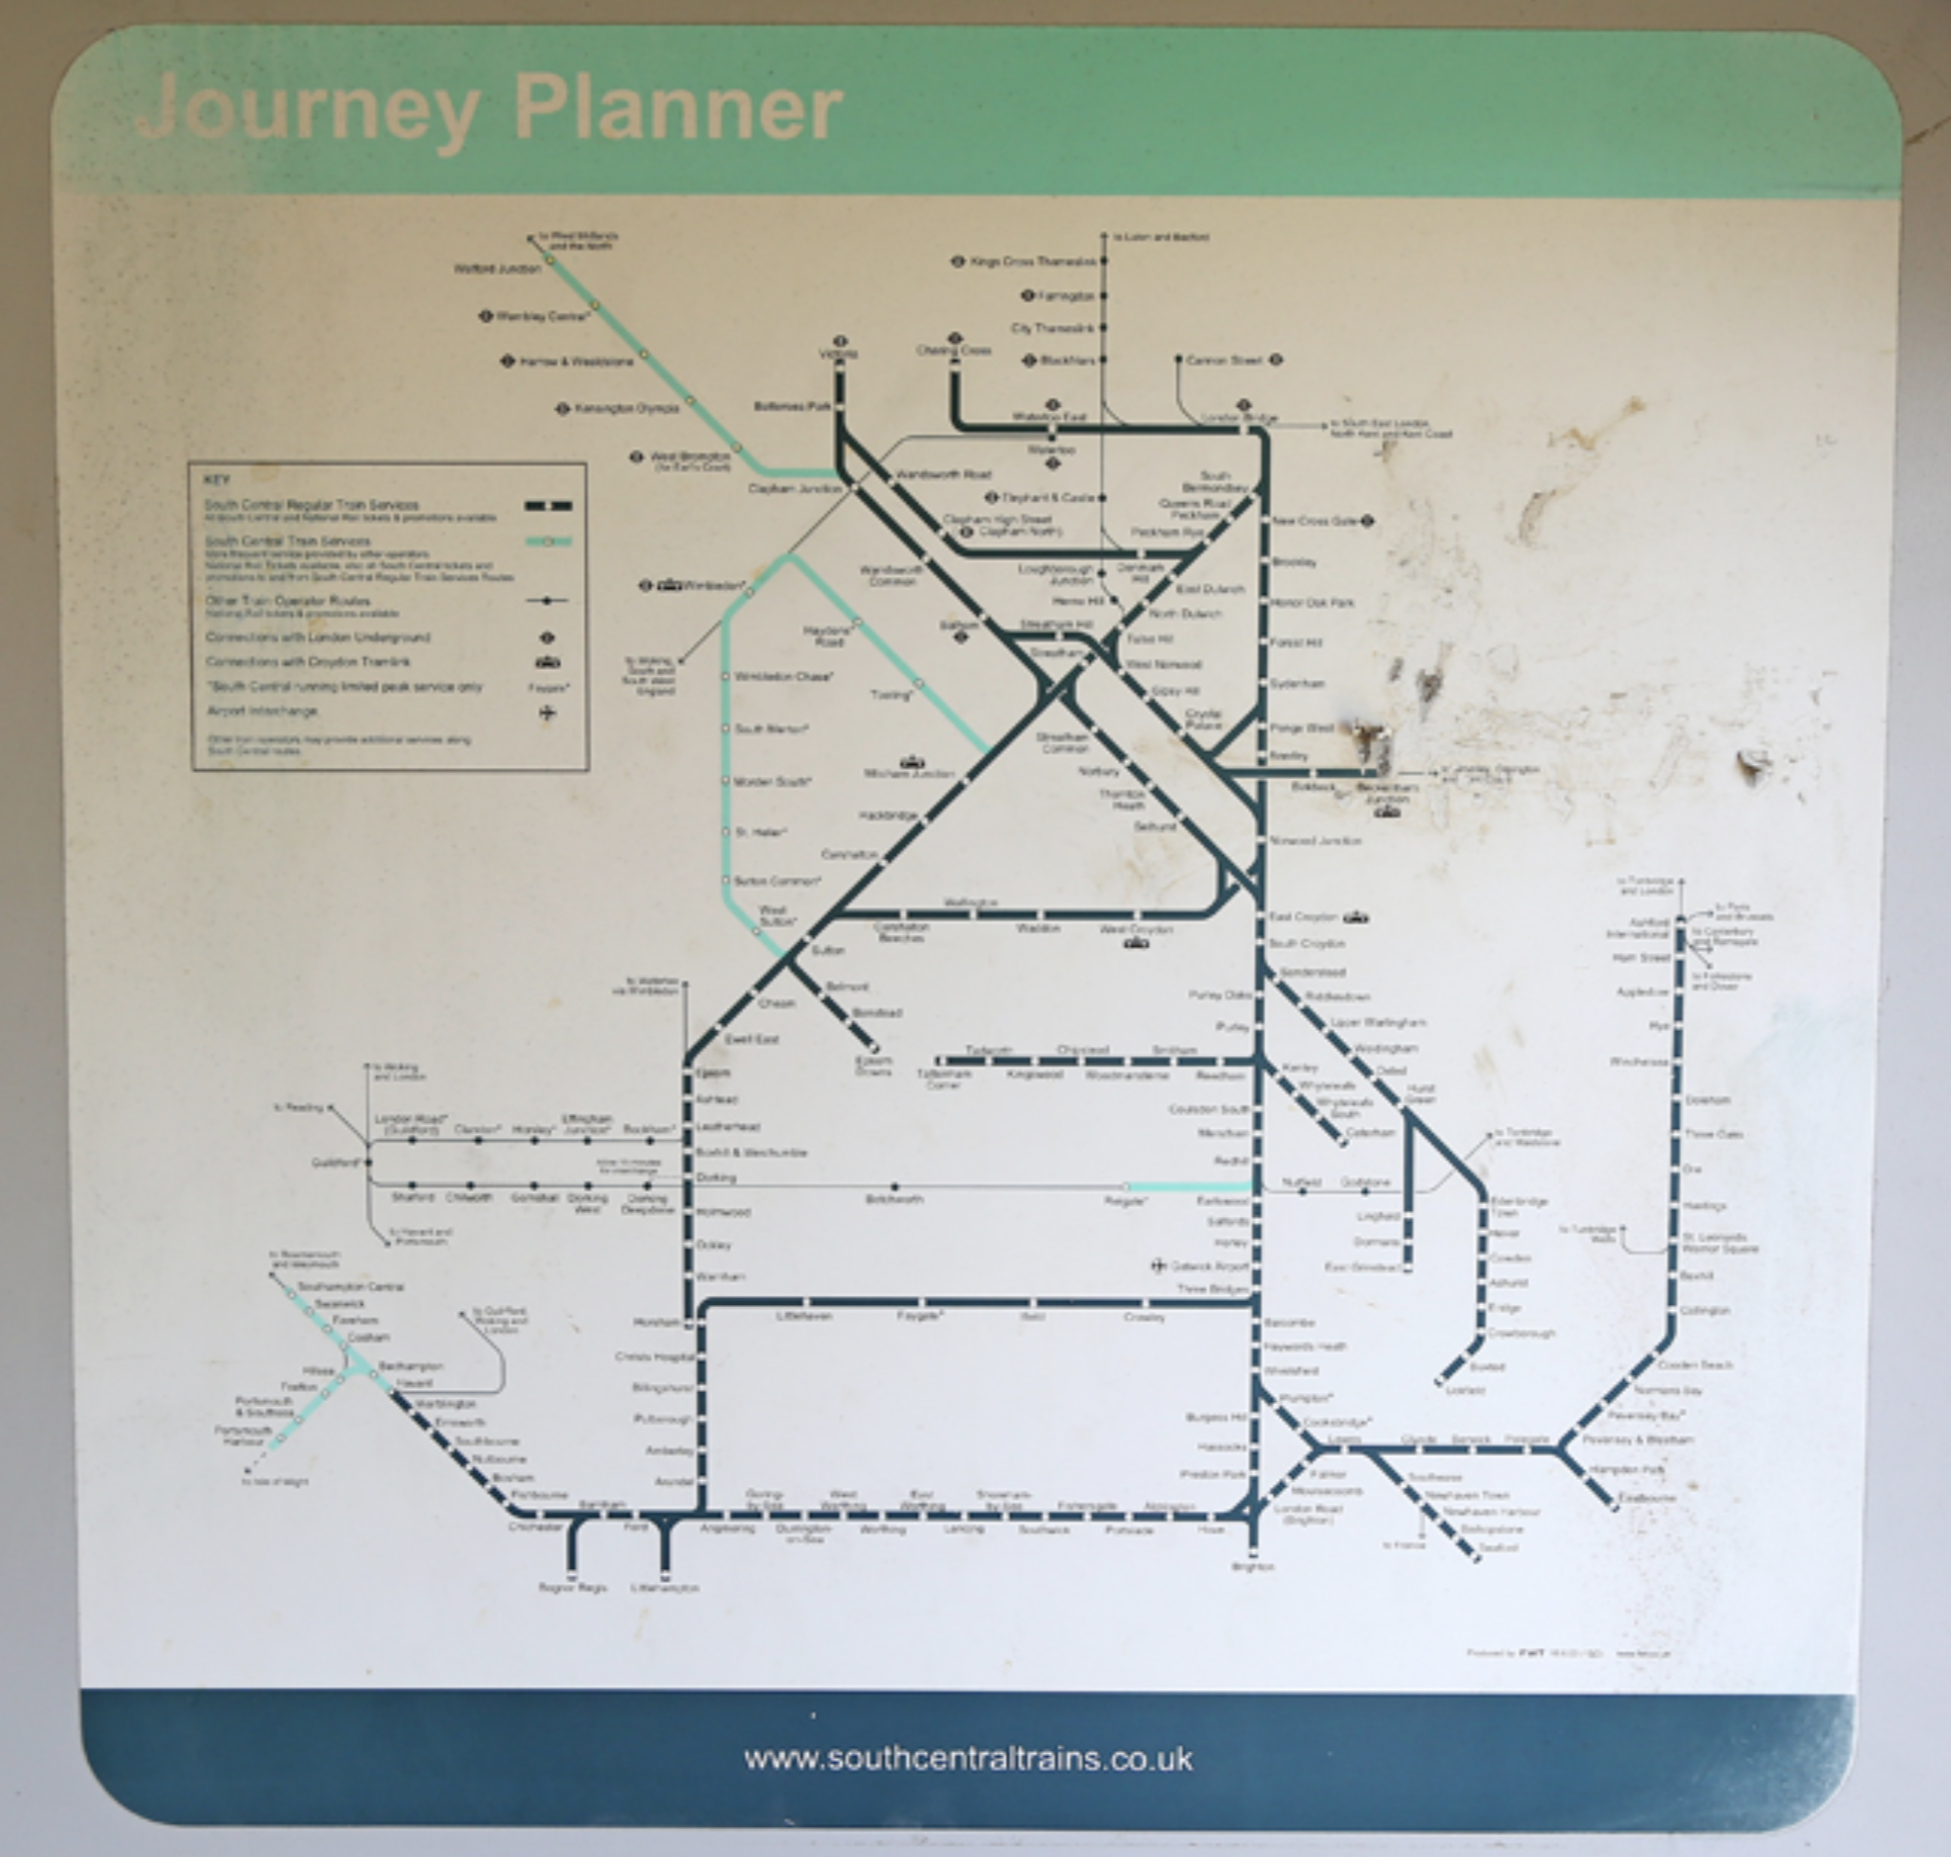
- Uses the south London section of the Large Scale All Stations TOC map and condenses the outer lines. Doesn't really work in isolation from other operators. But it's quite pretty with a nice curvy middle and fairly symetrical arms.
|
|
|
|
|
|
![Southern rail train map](Resources/southernv2b.jpeg) |
|
|
|
|
|
|
|
![Network outline](Resources/item1a2b34.gif) |
|
|
|
|
|
![Southern rail train map Max Roberts](Resources/southlondonmapso2.jpeg) |
|
|
|
|
|
![Network outline](Resources/item1a1b2u.gif) |
|
![Network outline](Resources/item1a1-250.gif) |
|
|
|
|
|
![Southern rail train map](Resources/southernnetworkm1.jpeg) |
|
![Southern rail train map](Resources/southernmap809web1.gif) |
|
|
|
|
|
![Network outline](Resources/item1a2a62.gif) |
|
|
|
|
|
![Southern rail train map](Resources/southernnetworkm3.jpeg) |
|
|
|
|
|
![Network outline](Resources/item1a1-250.gif) |
|
|
|
|
|
![Southern rail train map](Resources/southernnetworkm4.jpeg) |
|
|
![Southern rail train map](../Resources/item4a3-76.gif) |
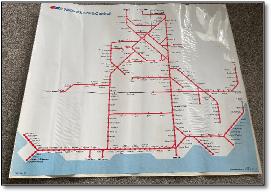
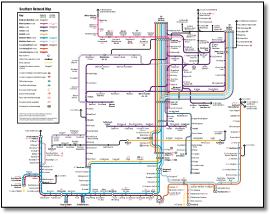
- Now has Milton Keynes.
|
![Southern rail train map](Resources/southernmap809web2.gif) |
|
|
|
|
|
|
|
![Network outline](Resources/item1a1a62.gif) |
|
|
|
|
|
![Southern rail train map](Resources/southernnetworkm5.jpeg) |
|
|
|
|
|
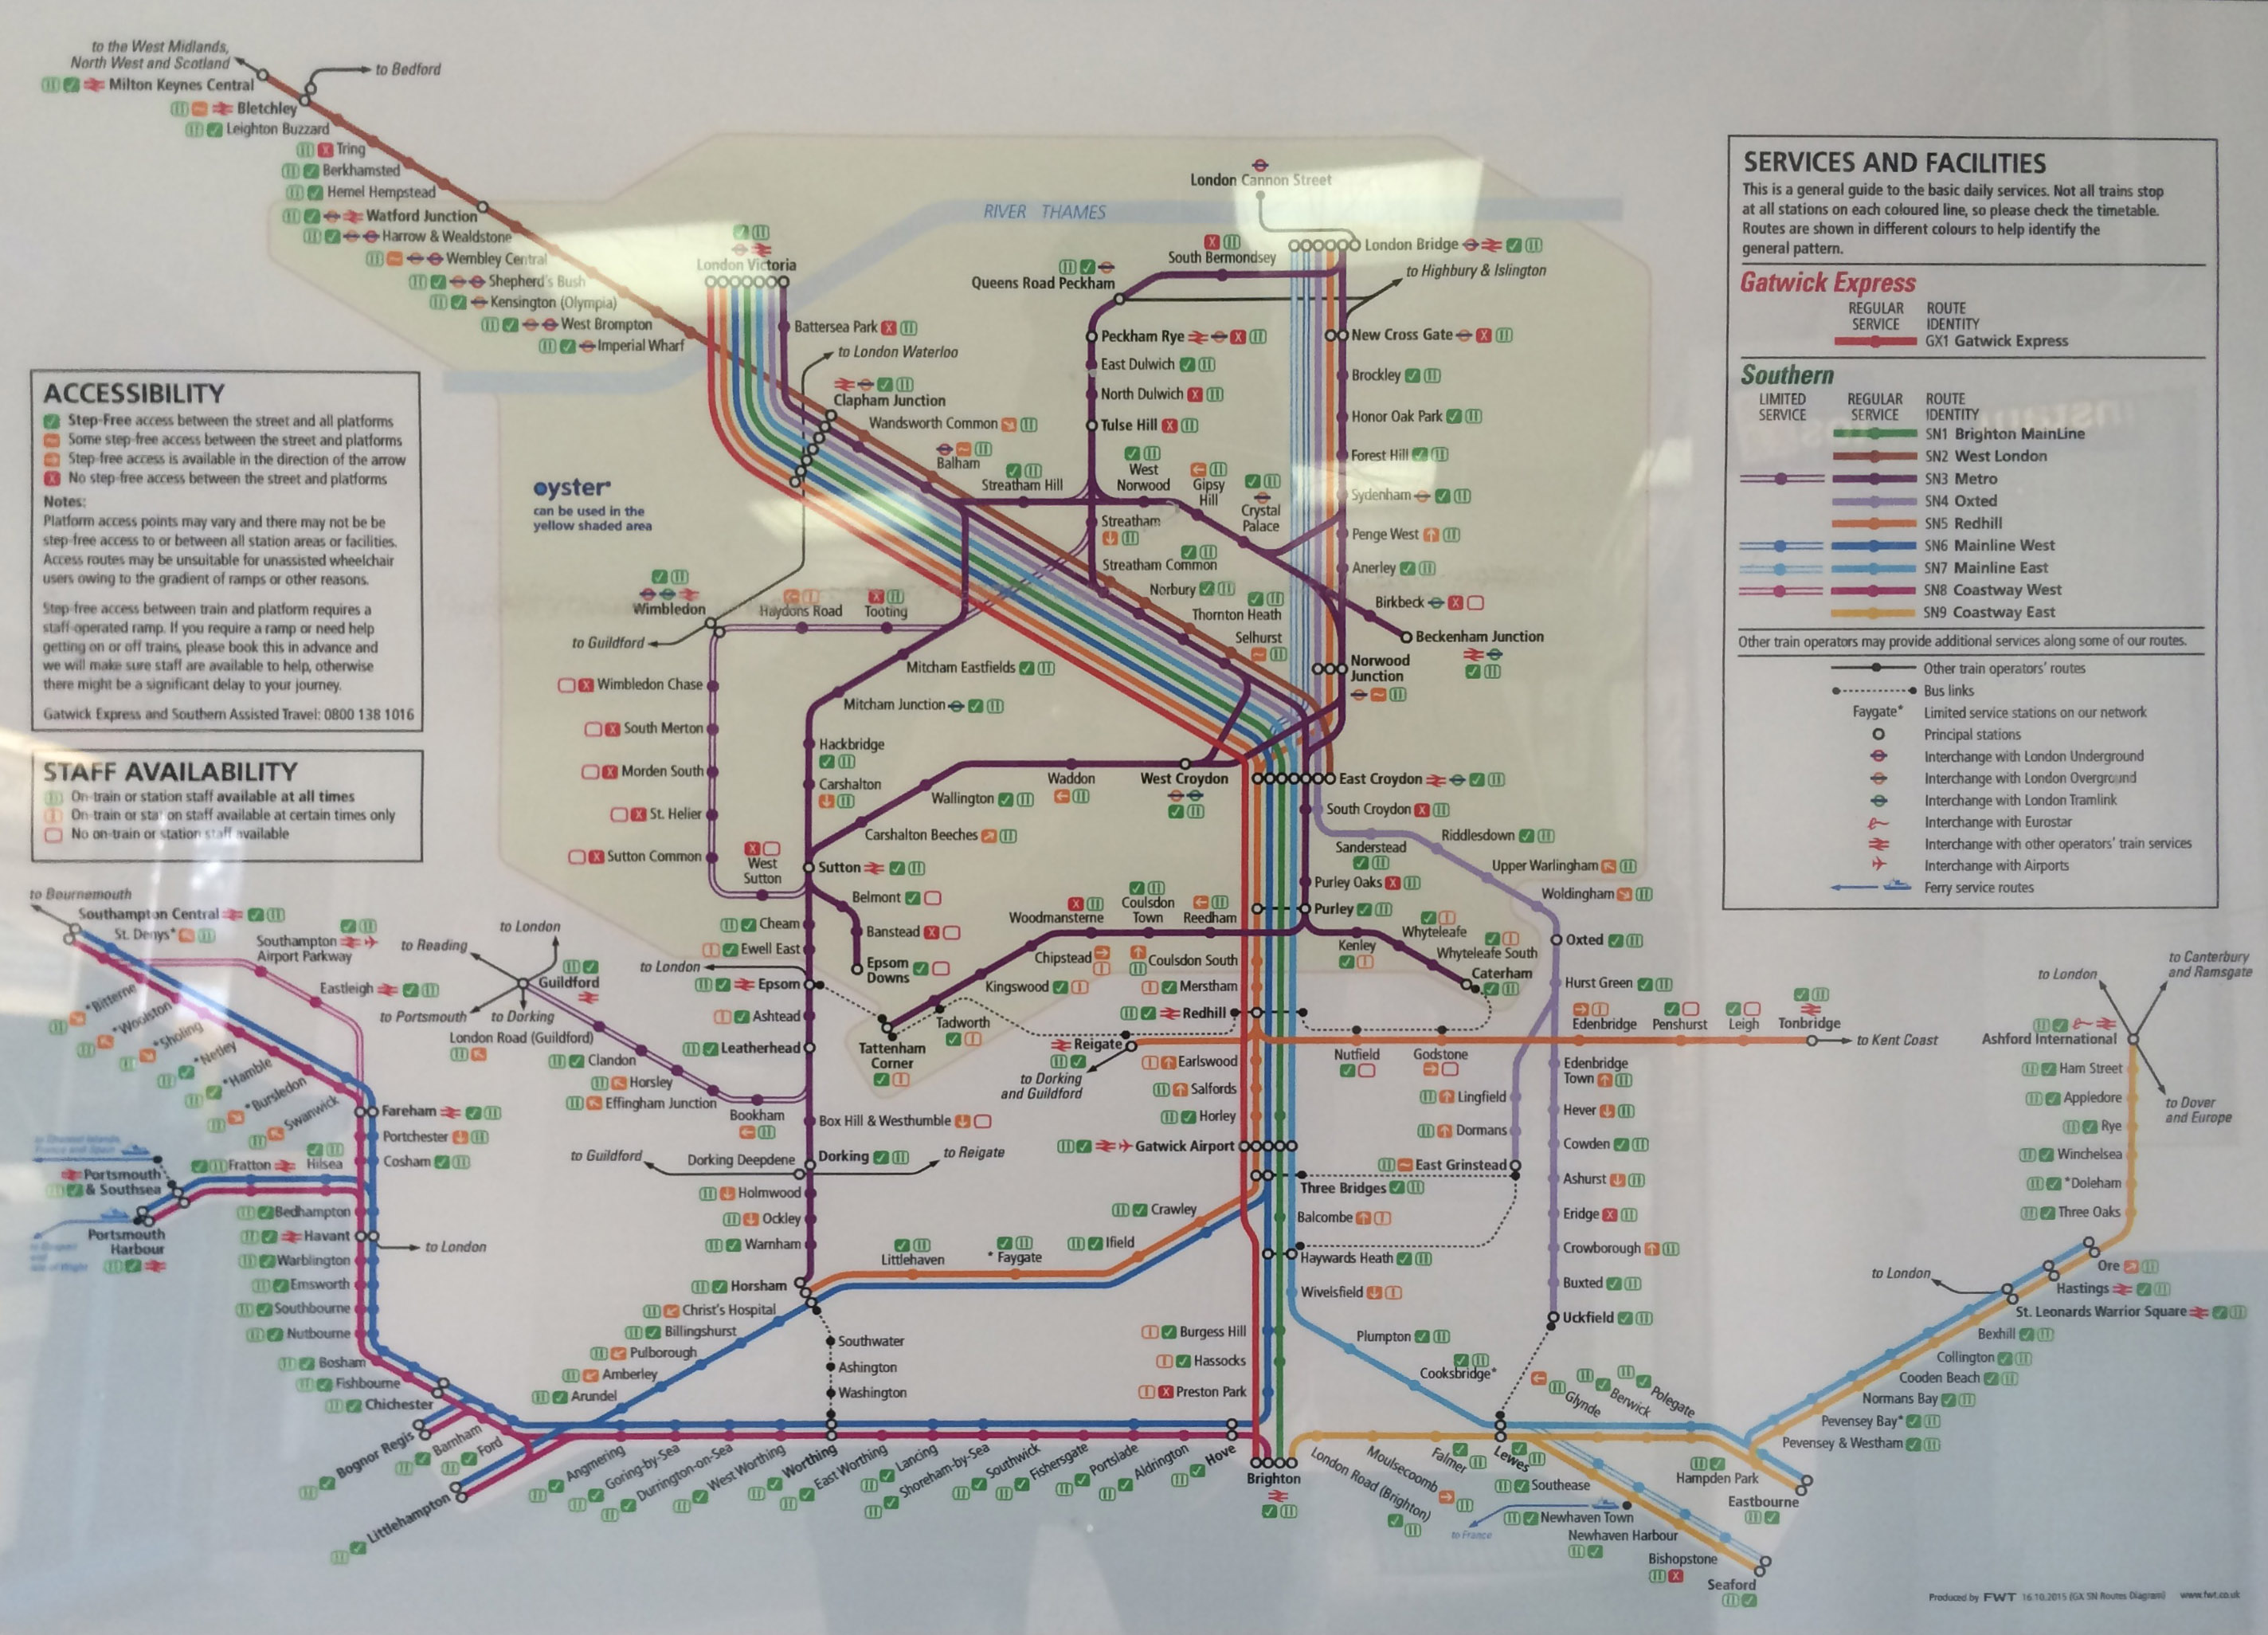
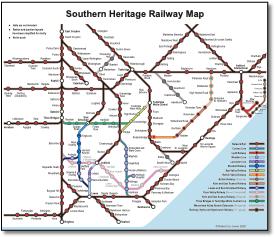
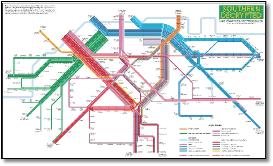
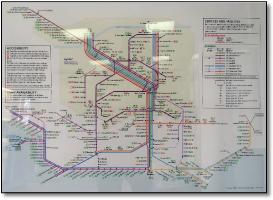
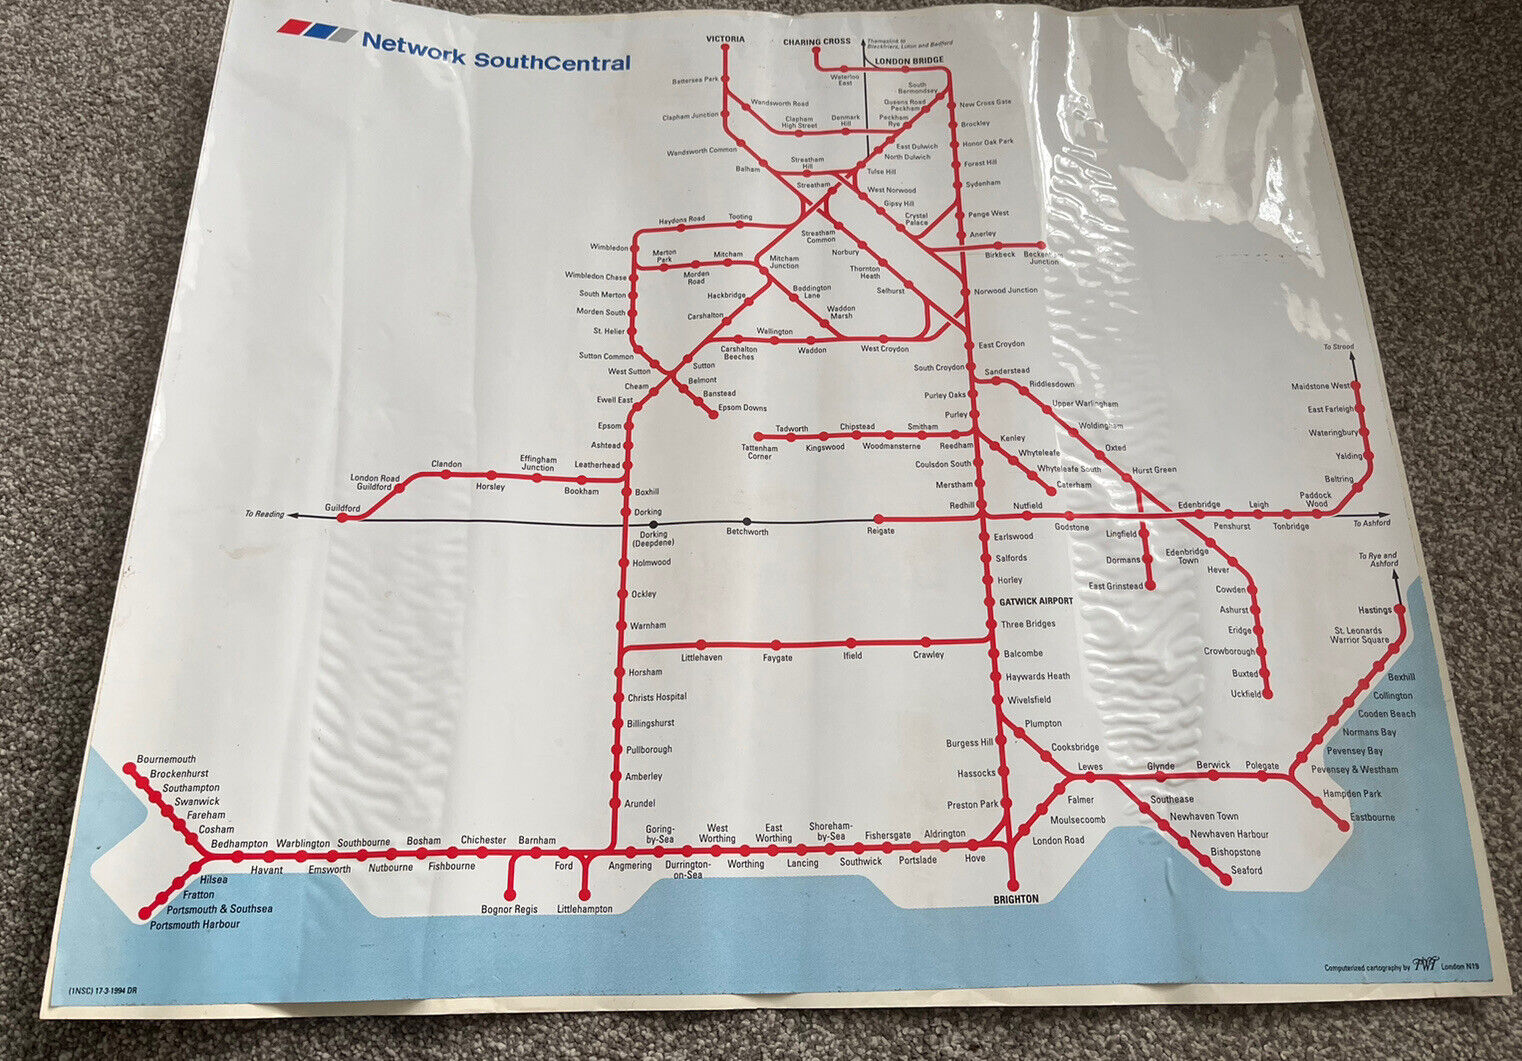
- Like all FWT maps, exceedingly precise. Resorts to angled captions though and coast unrecognisable to the real thing. Usual mistake of not bifurcating properly at East Croydon, and the usual south London mess. Very brave including some buses.
|
|
|
|
|
|
|
|
![Network outline](Resources/item1a1b1-57.gif) |
|
|
|
![Network outline](Resources/item1a2-222.gif) |
|
|
|
|
|
|
|
![Southern rail train map](Resources/southernontrainm2.jpeg) |
|
|
|
![Southern rail train map](Resources/southernnetworkm6.jpeg) |
|
|
|
|
|
|
|
![Network outline](Resources/item1a97.gif) |
|
|
![Southern rail train map](../Resources/item4a3-76.gif) |
|
![Southern rail train map](Resources/southernaccessmap2.gif) |
|
|
|
|
![](../Resources/_clear.gif) |